• DIY Mayonnaise: Master the Art of Homemade Mayo!

    Are you tired of store-bought mayonnaise that lacks flavor and freshness? Why not try making your own DIY mayonnaise at home? It’s easier than you think and the taste is out of this world!

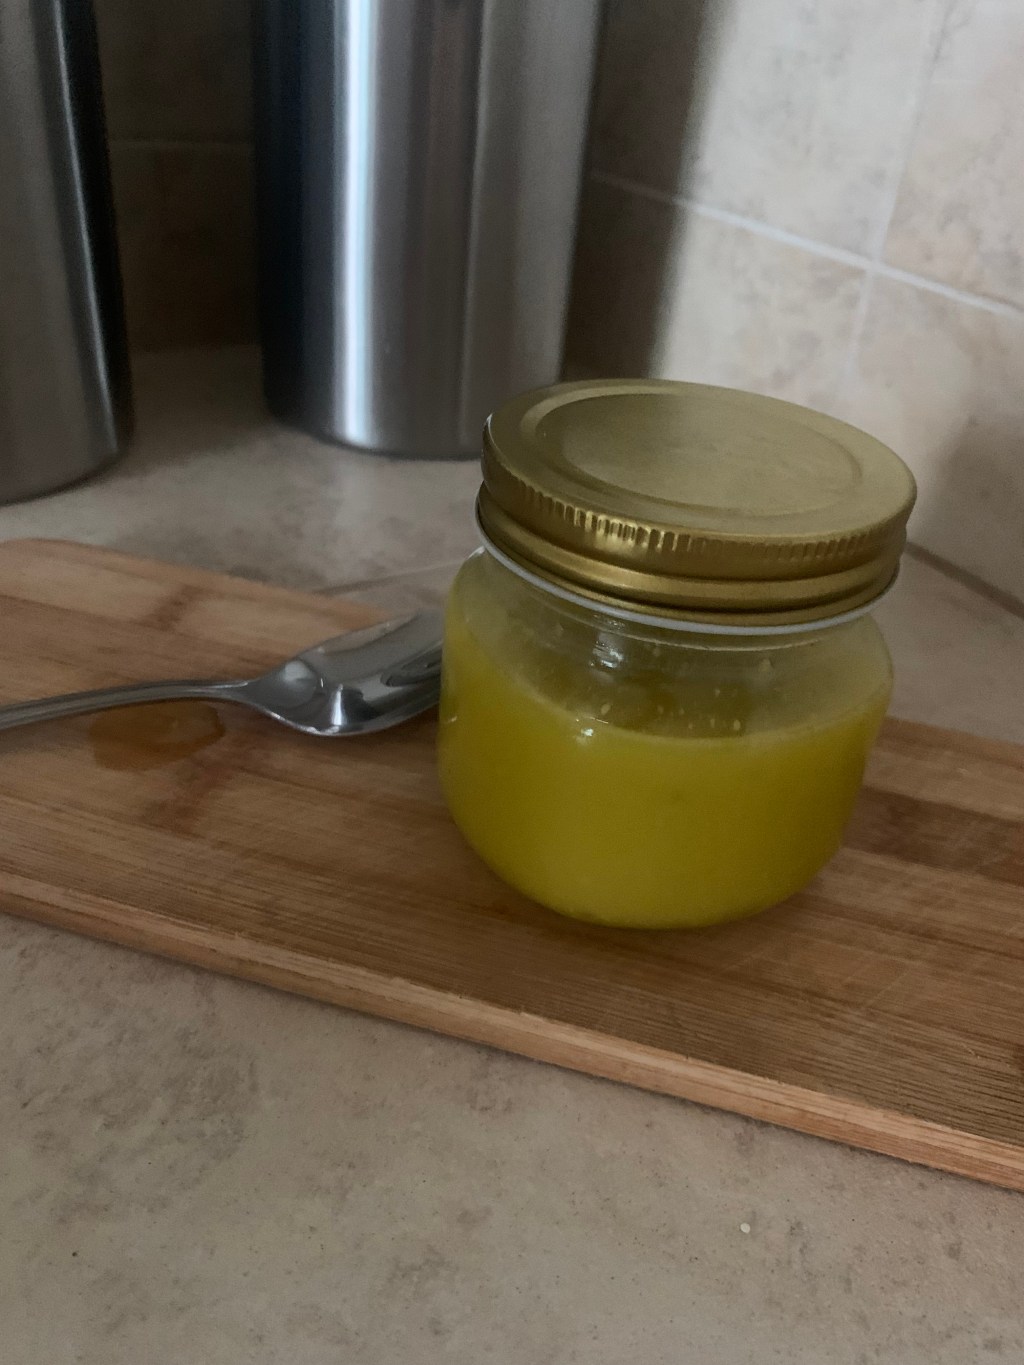
    I can recall making homemade mayonnaise once at work and it looked just like the store bought, although not quite white. Read the link on the bottom regarding the color of natural mayonnaise. A work buddy passed on trying it though, they were so conditioned to the store bought science experiment in a jar. I still appreciate you Richard! It’s a mindset we can overcome.

    Always keep in mind – if you can’t pronounce it, understand it, spell it, and the word is so long you couldn’t remember it…it most likely isn’t good for you. Keep it simple!

    Mayonnaise Recipe

    To start, gather the following ingredients:

    – 1 egg yolk
    – 1 tablespoon horseradish sauce
    – 1 tablespoon lemon juice
    – 1 cup light olive oil
    – Season to taste (any herb or sea salt will do!)

    In a bowl, whisk together the egg yolk, horseradish sauce, and white wine vinegar until well combined. Slowly drizzle in the vegetable oil while whisking continuously, until the mixture starts to thicken and emulsify. Season to your own specific taste. Go crazy with it!

    Congratulations, you’ve just made your own homemade mayonnaise! The best part is that you can customize it to your liking by adding herbs, garlic, or even Sriracha for a spicy kick.

    One problem you may encounter in making your own mayo is broken emulsion. No worries! Just whisk again and try adding a little lemon juice, water, or vinegar to emulsify the mixture. Whisk until it becomes smooth and creamy again.

    Broken Emulsion

    Reasons for broken emulsion:

    1. Excessive Heat. Keep your mayo cool.
    2. Adding ingredients too quickly. Take your time, be patient, and add ingredients gradually to ensure a smooth and stable emulsion.
    3. Using old or expired ingredients.

    So there you have it, brave culinary explorer! Watch out for excessive heat, add ingredients with care, and use fresh ingredients to avoid the dreaded Mayo emulsion break. Now go forth and conquer the kitchen with confidence!

    Vegan Mayonnaise

    If you wanted to create a vegan mayonnaise, substitute aquafaba, which is canned chickpea juice. Chickpeas are also called garbanzo beans and besides canned, you can find a powdered version, or make your own garbanzo beans and use the left over juice! Don’t be afraid to try different things, you just may create your own mayo masterpiece.

    To store your DIY mayonnaise, transfer it to an airtight container and refrigerate. I super love my mason jars that come in all sizes. It will keep for about a week, but trust me, it won’t last that long once you taste how delicious it is!

    So why settle for bland store-bought mayonnaise when you can easily make your own at home? Give this DIY mayonnaise recipe a try and elevate your sandwiches, salads, and dips to a whole new level of flavor!

    Try this recipe:

    To Die For Grilled Cheese Sandwich

    Mayonnaise Grilled Cheese Sandwich:

    Ingredients:
    – 2 slices of bread
    – 2 tablespoons of mayonnaise
    – 1 cup of shredded cheese (cheddar, mozzarella, or your favorite cheese)
    – Butter (for spreading on the bread)

    Instructions:
    1. Spread mayonnaise on one side of each slice of bread. This may sound strange, but trust me, it’s a game-changer for grilled cheese sandwiches.
    2. Heat a iron skillet over medium heat.
    3. Place one slice of bread, mayonnaise side down, in the skillet.
    4. Sprinkle half of the shredded cheese on top of the bread.
    5. Place the second slice of bread, mayonnaise side up, on top of the cheese.
    6. Spread a thin layer of butter on the top slice of bread.
    7. Cook the sandwich for 2-3 minutes on each side, or until the bread is golden brown and the cheese is melted.
    8. Serve hot and enjoy the gooey, creamy goodness of this mayonnaise grilled cheese sandwich.

    So next time you’re feeling adventurous in the kitchen, give this recipe a try. You won’t be disappointed!

    The Adventure Machine

    Reference/Further Study:

    https://www.foodrepublic.com/1453722/why-is-mayo-white-not-yellow

  • Exploring My Caddo Heritage: Agriculture, Cultural Traditions, and Resilience

    When my grandmother was slowly disappearing due to cognitive decline as she aged, I managed to have meaningful conversations regarding our heritage. It was important to me to understand where I came from and now more than ever, I am grateful to learn how much our heritage affects who we are today. With this knowledge, we can work on both our strengths and weaknesses. Grandmothers perpetually seem to have that “aged grandparent aura” – at least mine did, and as my mother aged – both maternal generations evolved more to their native image, especially my grandmother.

    Our Heritage Influences Us

    I am grateful for my heritage and share my knowledge here. I can’t wait to explore this even more, and realize some of what I do confidently today is subconsciously and without intention is naturally passed down to me – thus we pass down what we know and learn generation to generation, without even meeting our ancestors or being taught what we know through role modeling. We just know. I see this in my gardening techniques, my interest in bee hives and earth styled, natural architecture that considers the surrounding landscape. Living off the land and my draw to nature. The wind to me is spiritual and I can now see my interest in motorcycles or having the windows or top down on vehicles, the release of bad energy as I embrace the wind – much like my ancestors might have done on the plains.

    Here is my story:

    Caddoan People

    The Caddo tribe, also known as the Caddoan people, were a group of Native American tribes that inhabited the southern plains and woodlands of what is now Texas, Louisiana, Arkansas, and Oklahoma. This ancient tribe was known for their agricultural skills, complex social structure, and distinctive cultural practices.

    The Caddo people were primarily farmers, growing crops such as corn, beans, squash, sunflowers, and tobacco. They also gathered wild plants and fruits, such as pecans and berries, to supplement their diet. In addition to their plant-based diet, the Caddo tribe also hunted game such as deer, rabbits, and birds, as well as fishing in nearby rivers and streams.

    Utilizing Grow Space By Planting In The Front Yard July 26, 2023

    One of the strengths of the Caddo tribe was their agricultural expertise, which allowed them to thrive in the often harsh environment of the southern plains. However, their reliance on farming also made them vulnerable to crop failures and food shortages during droughts or other natural disasters.

    The average lifespan of a Caddo person was around 30-40 years old, due in part to the harsh conditions of their environment and the prevalence of disease. Despite these challenges, the Caddo people were known for their strong sense of community, creativity, and resilience.

    If your heritage traces back to the Caddo tribe, you may possess traits such as a deep connection to the land, a strong work ethic, and a reverence for nature. In the modern world, a career in agriculture, environmental conservation, or community organizing may align with Caddo values.

    The Caddo people were skilled builders, constructing elaborate villages with large earthen mounds, ceremonial centers, and thatched-roof houses. To honor my Caddo heritage, I could create a traditional Caddo pottery piece, such as a decorated clay bowl or vase. Creating a modern looking outdoor vision board, a merge of past and present could become a site of worship and tribute to my ancestral roots.

    Pashofa Recipe

    One common Caddo recipe is called “Pashofa,” a traditional hominy stew made with corn, beans, and meat. To make Pashofa, simmer hominy, beans, and stew meat in a large pot with water, salt, and pepper until the meat is tender and the flavors have melded together. Serve hot and enjoy this hearty and comforting dish that has been passed down through generations of Caddo people.

    The Adventure Machine

    Sources/More Research Available:

  • The Art of Gathering and Grinding Acorns for Nutritious Flour

    Gathering acorns is an exciting and rewarding experience that will connect you with nature and provide you with a versatile ingredient to use in your cooking. To gather acorns, simply head out to an oak tree-filled area and look for mature acorns that have fallen to the ground. You can collect them by hand or use a small basket or bag to gather them more efficiently.

    The humble acorn is a treasure trove of nutritional benefits waiting to be discovered! Packed with protein, fiber, and healthy fats, acorns are a nutritious snack straight from Mother Nature herself.

    But not all acorns are created equal. The tastiest and most edible acorns come from oak trees such as the white oak, red oak, and bur oak. These trees produce larger, sweeter acorns that are perfect for roasting, grinding into flour, or simply snacking on while out exploring the great outdoors.

    Once you have collected your acorns, you will need to remove the shells and bitter tannins before turning them into flour. Tannins are natural compounds found in plants, fruits, and beverages like tea and wine. They are responsible for the bitter and astringent taste in certain foods and drinks. Some people believe that tannins have health benefits, such as antioxidant properties and potential anti-inflammatory effects. However, it’s important to note that consuming too many tannins can sometimes lead to digestive issues or interfere with nutrient absorption.

    To remove the tannins, crack the shells open with a nutcracker or hammer and then soak the acorn pieces in water for a few hours, changing the water several times to remove the bitterness. Once the acorns have been cleaned, you can dry them out and grind them into a fine flour using a food processor or blender.

    Do you want to be a pioneer and grind by hand? Grab a large mortar and pestle or a sturdy wooden bowl and a heavy rolling pin. Place a handful of shelled acorns in the mortar or bowl and start pounding away with the pestle or rolling pin. Get those arms working and imagine you’re back in the days of our ancestors, grinding acorns for sustenance.

    Many Native American tribes, such as the Miwok, Pomo, and Cherokee used acorn flour as a staple in their diets. They would gather, process, and store large quantities of acorns to use throughout the year in a variety of dishes.

    The best time to forage for acorns is in the crisp, cool days of early autumn when the leaves are just starting to turn fiery shades of red and gold. Venture out into the woods and listen for the satisfying crunch of fallen acorns underfoot. Feel the thrill of the hunt as you scan the forest floor for the perfect acorns, plump and ripe for the picking. Embrace the spirit of adventure as you gather these treasures of the forest, ready to be roasted and enjoyed as a delicious autumn snack. So gear up, grab your basket, and set out on a foraging expedition for acorns that will leave you feeling truly alive and connected to the natural world.

    Acorn Pancakes

    One delicious recipe using acorn flour is acorn pancakes. Simply combine 1 cup of acorn flour, 1 cup of regular flour, 2 teaspoons of baking powder, 1/2 teaspoon of salt, 2 tablespoons of sugar, 1 egg, and 1 cup of milk in a bowl to make the pancake batter. Cook the pancakes on a hot griddle until golden brown and serve with your favorite toppings.

    Acorn Cookies

    Now, onto a delicious recipe for acorn cookies! To make these tasty treats, mix 1 cup of acorn flour with 1 cup of regular flour, 1/2 cup of sugar, 1/2 cup of butter, 1 egg, and a pinch of salt. Roll the dough into small balls, place them on a baking sheet, and bake at 350°F for 10-12 minutes. Enjoy the nutty flavor of these unique cookies!

    Storing Acorn Cookies and Acorn Flour

    Storing acorns and acorn flour can be a fun and rewarding experience! To store acorns, make sure they are fully dried out and then place them in a breathable container, such as a paper bag or a mesh bag, in a cool, dark place. For acorn flour, store it in an airtight container in the refrigerator to keep it fresh for longer.

    Remember to always gather acorns responsibly and sustainably, respecting the environment and the creatures that rely on acorns for food. Be sure to only collect acorns from fallen trees or branches, rather than picking them directly from the tree. Additionally, avoid over-harvesting in one area to ensure the ecosystem remains healthy and balanced. So grab your basket and head out on an acorn-gathering adventure, all while being mindful of the environment!

    Enjoy the process of gathering and processing your own acorn flour and savor the unique flavor and history that it brings to your dishes.

    The Adventure Machine

    Sources/More Research Available:


    “Acorn Flour: A Nutty Way to Cook” by Leda Meredith, The Spruce Eats
    – “How to Gather, Process, and Enjoy Acorns” by Hank Shaw, Hunter Angler Gardener Cook – https://foodprint.org/real-food/acorns/

  • Exploring Vibrational Music: Harmonize Your Mind, Body, and Spirit

    In a world filled with endless options for music consumption, have you ever considered exploring the realm of vibrational music? Vibrational music is a unique genre that focuses on using sound frequencies to harmonize and balance the mind, body, and spirit. It is believed that certain frequencies can have a profound impact on our well-being, helping to alleviate stress, improve focus, and enhance overall health.

    But how can we find our own vibrational music? The key is to experiment with different frequencies and see which ones resonate with you the most. There are various programs and apps available that offer a wide range of vibrational music options, allowing you to explore and discover what works best for you.

    One popular method of experiencing vibrational music is through brain entrainment, which is the process of synchronizing your brainwaves to specific frequencies. This can be achieved through binaural beats, isochronic tones, or monaural beats. By entraining your brainwaves, you can enhance relaxation, improve concentration, and even boost creativity.

    There are five main brain waves that play a crucial role in brain entrainment:

    • Delta waves: associated with deep sleep and healing
    • Theta waves: linked to relaxation, creativity, and deep meditation
    • Alpha waves: related to relaxation and visualization
    • Beta waves: connected to focus, alertness, and problem-solving
    • Gamma waves: associated with higher cognitive functions and peak performance

    The pros of vibrational music are vast, with potential benefits including stress reduction, improved focus, enhanced creativity, and increased overall well-being. However, like any form of music therapy, there are also some cons to consider. It is important to use vibrational music responsibly and not rely on it as a sole solution for mental health issues.

    Programs to create your own brain entrainment music include Gnaural and Brainaural. These tools allow users to customize frequencies and patterns to suit their individual needs

    In conclusion, vibrational music offers a unique and adventurous way to explore the power of sound frequencies on our well-being. By discovering your own vibrational music and experimenting with brain entrainment, you can unlock a world of potential benefits for your mind, body, and spirit.

    The Adventure Machine

    More Study:

    https://www.psychologytoday.com/us/blog/urban-survival/201907/the-healing-power-of-sound-as-meditation

    https://gnaural.sourceforge.net

    https://brainaural.com

    https://www.apa.org/news/podcasts/speaking-of-psychology/noisy-world