• Homemade Cleaning Supplies: Eco-Friendly and Budget-Friendly Solutions

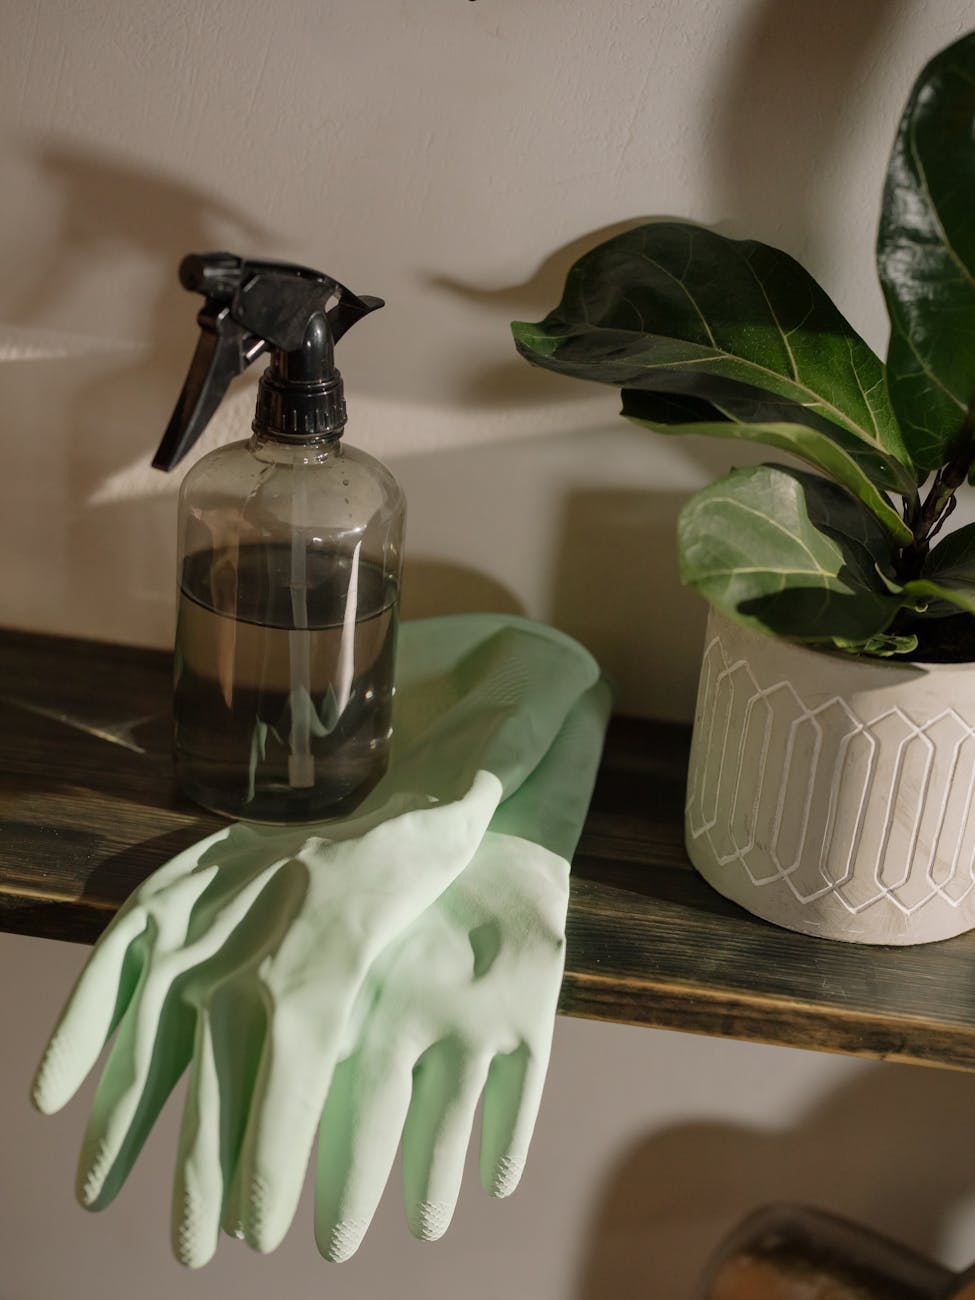
    Are you tired of using harsh chemicals in your cleaning routine? Want to make a switch to natural and eco-friendly cleaning materials? Look no further! With just a few simple ingredients, you can make your own cleaning products that are safe for you, your family, and the environment.

    FUN FACT: DIY homemade cleaners are WAY more inexpensive and better for the environment.

    Disclaimer: It is so important to do your own studies after reading information, especially when you decide to create your own DIY cleaning supplies. You do not want to create toxic fumes or an explosion. Before you add, research! Any store bought cleaning product could be toxic if inhaled or absorbed through the skin and so treat your DIY products with the same consideration. Oh, wait – we don’t do we?

    Dish Soap

    Let’s start with dish soap. To make your own natural dish soap, you will need:

    • 1 cup of liquid castile soap (or follow the recommended amount from the manufacturer). Keep in mind, less is better – more can get you into trouble.
    • 1/4 cup of water (Adjust for the quality of water. We boil our water)
    • 1 tablespoon of white vinegar
    • 10 drops of essential oil (such as lemon or lavender). Not essentially essential, but sure smells nice and does contribute to cleaning quality.

    Mix all the ingredients together in a bottle and shake well before each use. This dish soap will cut through grease and grime without the use of harmful chemicals.

    The most I miss is the bubbles, but that becomes so irrelevant once you start feeling the benefits of making your own. You get used to it.

    Floor Cleaner

    Next up, floor cleaner. For a natural floor cleaner, combine:

    • 1/2 cup of white vinegar
    • 1 gallon of warm water
    • 10 drops of essential oil (such as tea tree or peppermint)

    Mix the ingredients in a bucket and use a mop to clean your floors. This solution will leave your floors sparkling clean and smelling fresh. Make sure you check with your particular floor manufacturer on cleaning methods. For example, essential oil may stain a hardwood floor and leave it spotty; *lesson learned.

    Laundry Detergent

    And finally, laundry detergent. To make your own natural laundry detergent, you will need:

    • 1 cup of washing soda
    • 1 cup of borax
    • 1 bar of grated castile soap
    • 20 drops of essential oil (such as eucalyptus or orange)

    Mix all the ingredients together and store in an airtight container. Use 1-2 tablespoons per load of laundry for clean and fresh-smelling clothes. 1-2 tablespoons? It wasn’t until the worldwide lockdown that we were informed we were using too much laundry detergent in order for commercial product to be moved which provided larger profits to the corporations. Yes, we were being lied to.

    Let’s make our own!

    Smelling Better Tip

    But wait, how do you make these cleaning products smell good? Essential oils are the answer! Add a few drops of your favorite essential oil to each recipe to create a delightful scent that will make cleaning a more enjoyable experience. Become mindful of your own recipe and what works for you and your family, the amount of dirt and grime you have, and how each ingredient works or doesn’t with each other. Keep in mind the type of equipment you are using. For example, HE uses less water.

    By making your own cleaning materials without chemicals, you can save money, reduce your carbon footprint, and eliminate harmful toxins from your home. So why not give it a try? Your home and the planet will thank you! So go adventure buddies and with your own research and preferences – become a more informed consumer who demands excellence with as less of ingredients as possible with an arsenal of ingredient preferences that work for you and your household.

    The Adventure Machine

    References/Further Study:

    https://ohsospotless.com/is-homemade-detergent-he-washer-safe/#:~:text=Homemade%20laundry%20detergent%20is%20HE%20washer-safe%20and%20doesn%E2%80%99t,but%20it%E2%80%99s%20free%20from%20harsh%20chemicals%20and%20toxins.

    https://www.thespruce.com/high-efficiency-washer-versus-traditional-washer-1908401

  • Invest in the Future: Create Bold and Adventurous Prints with Water-Based Ink

    Are you ready to take your screen printing game to the next level? If so, it’s time to ditch the oil-based ink and make the switch to water-based ink. Not only will you be saving the environment, but you’ll also be creating prints that are brighter, softer, and more vibrant than ever before.

    Why water-based ink?

    So why should you make the switch? Well, for starters, water-based ink is far more environmentally friendly than its oil-based counterpart. According to Jessica Fletcher with Planet9 Co., water-based ink contains fewer harmful chemicals and solvents, making it a much safer option for both the printer and the planet. Plus, water-based inks are easier to clean up and produce less waste, making them a more sustainable choice overall.

    If you use oil based ink, you can leave the ink on the screen if you have a time pinch. The oil based ink will just sit there and wait for you to continue your project, or reclaim the screens. Water based ink is the opposite. You have to immediately without delay rinse the screen before the ink dries and potentially ruins your screen. This can be both good and not as good – depending on your schedule.

    “To become a more environmentally conscience company and practice sustainability you have to re-think how you do things and acquire better habits that will achieve these goals.” Jessica Fletcher

    Soft, Breathable, Long Lasting

    But the benefits don’t stop there. Water-based inks also offer a softer feel and a more breathable print, making them ideal for printing on garments like t-shirts and hoodies. Water based dyes the garment as oil sits on top. Therefor, water based ink will last as long as the t-shirt does. Oil on the other hand can crack, peel off, and fade over time.

    Quality Over Quantity

    Fletcher explains, “Plastisol – oil based ink – was great starting out as the colors can really stand out on the fabric, being more opaque. You could do larger projects without removing the oil off the screen. But the life of the print is only about 4-5 years which may be longer than “fast fashion” but really we have to be in the mindset to change the way we do things and consume things. One way is to choose quality over quantity, but find new ways to wear the item or repurpose because it can last longer. I guess you have to just love the item for what it represents and the conscience decision to contribute to a more loving, caring world. Water based ink is to me a better investment in the future.”

    So what are we waiting for? Make the switch to water-based ink and start creating or wearing prints that are as bold and adventurous as you are. The planet will thank you for it.

    It’s a lifestyle.

    The Adventure Machine

    References/Further Study:

    https://www.screenprinting.com/blogs/news/plastisol-vs-water-base-ink

    https://screenprintingmag.com/what-is-the-best-ink-for-screen-printing/

  • Transform Your Product Photos: Tips for Irresistible Sales Images

    Do you have a product that you just can’t seem to sell? Are you struggling to capture the attention of potential buyers? Well, fear not, because we have the solution for you! Taking high-quality pictures of your products can make all the difference when it comes to making a sale. With just a few simple tips and tricks, you can transform your product photos from drab to fab, and start raking in those sales.

    First and foremost, lighting is key when it comes to taking product photos. Natural light is always the best option, so try to set up your photo shoot near a window or outside if possible. If natural light isn’t an option, invest in some good quality lighting equipment to ensure your products are well-lit and look their best.

    Next, make sure to use a clean and simple background for your product photos. A cluttered background can distract from the product itself and make it difficult for potential buyers to focus on what you’re trying to sell. A plain white background is always a safe choice, but you can also get creative with colored backgrounds or textured surfaces to add some visual interest.

    When it comes to framing your product photos, make sure to experiment with different angles and compositions to find the most flattering shot. Take close-up shots to highlight the details of your product, as well as full-body shots to give buyers a better sense of scale. Don’t be afraid to get up close and personal with your product – buyers want to see every inch of what they’re potentially purchasing.

    Lastly, editing your product photos can make a world of difference. Use photo editing software to adjust the brightness, contrast, and color balance of your photos to make them pop. You can also remove any blemishes or imperfections from your product to ensure it looks its best.

    Remember, the goal of taking product photos is to showcase your products in the best possible light and make them irresistible to potential buyers. By following these simple tips and tricks, you can take your product photos from mediocre to magnificent and start seeing those sales roll in.

    The Adventure Machine

    References/Further Study:

    https://blog.hubspot.com/marketing/product-photography-tips

    https://www.canva.com/learn/product-photography-guide

    https://fitsmallbusiness.com/product-photography

    https://www.adobe.com/creativecloud/photography/discover/product-photography.html

  • Homemade Butter from Raw Milk: A Celebratory Journey to Wholesome Living

    Making your own butter from raw milk is a beautiful journey back to the basics, a celebration of simplicity and the joy of creating something delicious with your own hands. Let’s dive into this delightful process that connects you with the essence of wholesome living!

    What You’ll Need
    1. Raw Milk. The fresher, the better! Aim for at least a quart.
    2. A jar or a mixer. If you’re feeling traditional, a jar with a lid works beautifully. A stand mixer can speed things up if you prefer.
    3. A strainer or cheesecloth to separate the buttermilk from the butter.
    4. A bowl to catch the buttermilk.
    5. Optional: salt or herb of preference, or none at all.
    Step-by-Step Guide
    1. Let the Cream Rise
    • Begin by allowing your raw milk to sit undisturbed in the refrigerator for 24 hours. During this time, the cream will rise to the top, creating a rich layer that’s perfect for butter-making. This is a moment to savor! Take a deep breath and appreciate the transformation of nature’s gifts.

    2. Skim the Cream

    • Once the cream has risen, gently skim it off the top using a ladle or a spoon. Aim for about 1 to 2 cups of cream. This is where your adventure truly begins!

    3. Churn it up!

    • Pour the cream into your jar or mixer. If you’re using a jar, seal it tightly and shake vigorously. If you’re using a stand mixer, beat the cream on medium speed. This may take anywhere from 10-20 minutes. As you churn, listen for the sound of the cream transforming. It will go from silky to frothy, then to clumpy, and finally to a beautiful golden mass of butter.

    4. Separate the Buttermilk

    • Once the butter has formed, you’ll notice a milky liquid separating from the solids. This is buttermilk! Strain it out using your strainer or cheesecloth, and save it for baking or cooking—it’s packed with flavor.

    5. Wash the Butter

    • To ensure your butter lasts longer, rinse it under cold water. This removes any residual buttermilk, helping it stay fresh. Knead the butter gently under the running water until the water runs clear.

    6. Optional

    • If you want to add a sprinkle of salt for flavor, now’s the time! Mix it in thoroughly, tasting as you go to find your perfect balance. Get creative and add herbs from the garden such as parsley or basil. It’s a mood.

    7. Store and Enjoy

    • Shape your butter into a block or pack it into a jar. Store it in the refrigerator and take a moment to admire your handiwork! Your homemade butter is ready to slather on warm bread, melt over vegetables, or enhance any dish with its creamy goodness.

    It’s So Great!

    What is so great about homemade butter is the achievement of one step closer to self-sustainability. Doing something for yourself that is wholesome without chemicals. Being able to use a glass jar as opposed to eating from horrible plastics. My preference is to purchase raw milk from a local dairy.


    Making butter from raw milk is more than just a culinary task; it’s a journey that envelops you in tradition, nourishment, and creativity. Every step connects you to the earth, the animals, and the simple joys of life. So, gather your family, share this process, and create memories as rich and delightful as the butter you’ve made. Enjoy every awesome bite!

    It’s a Lifestyle

    The Adventure Machine

    References/Further Study:

    https://www.kilnerjar.co.uk/homemade-butter-guide

    https://radiantlifecatalog.com/blog/bid/62956/Homemade-Butter-vs-Store-Bought-Return-of-Nourishing-Traditions

  • Planting a Butterfly Garden: Tips and Tricks for Attracting Beautiful Pollinators

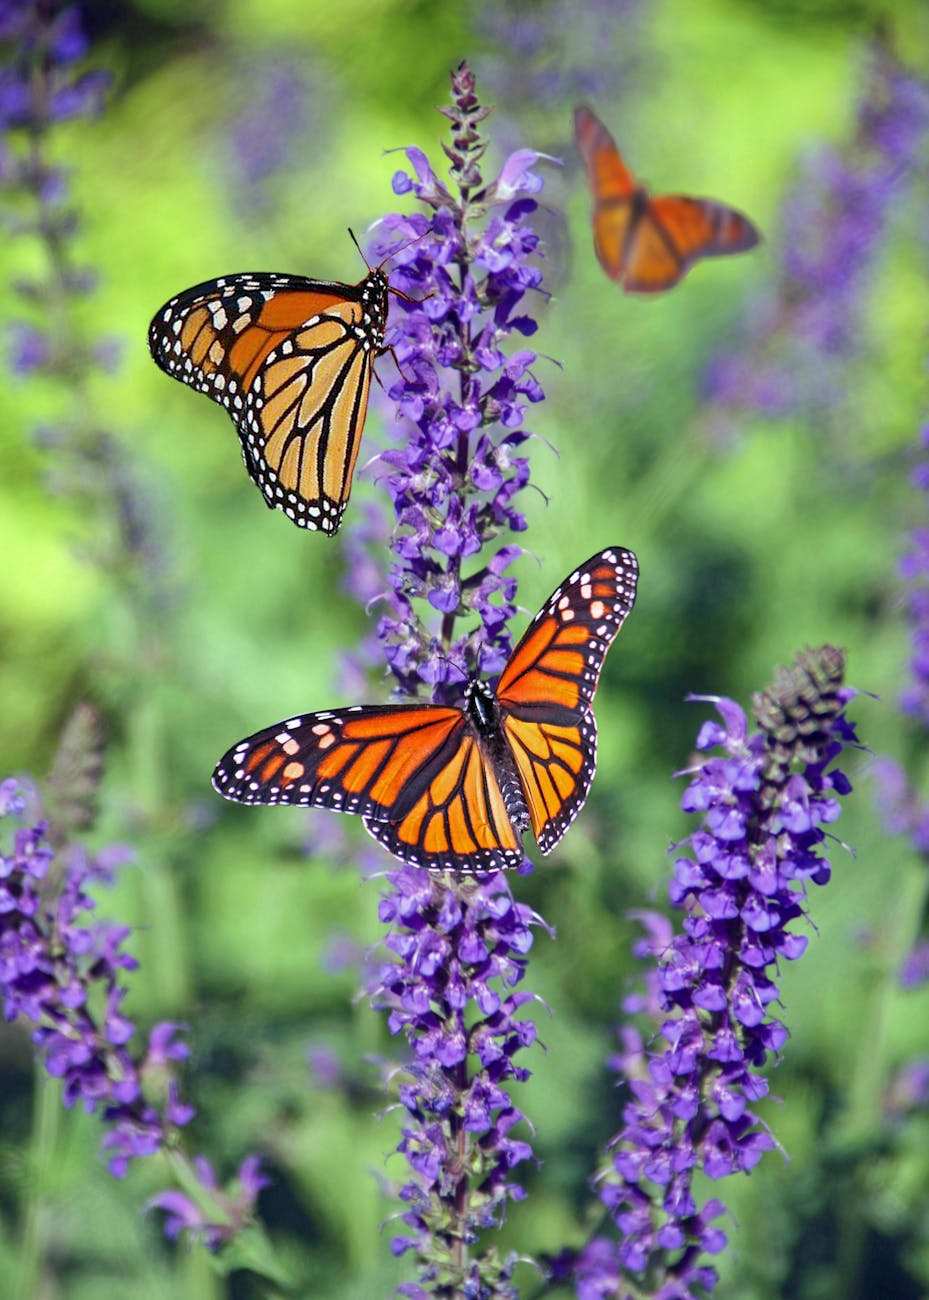
    Are you ready to embark on a colorful and magical journey in your own backyard? Creating a butterfly garden is not only a fun and rewarding project, but it also helps support these beautiful creatures and other pollinators. So, grab your gardening gloves and let’s get started!

    First things first, you’ll need to choose the right seeds for your butterfly garden. Some popular options include milkweed, coneflower, black-eyed susan, and butterfly bush. These plants provide nectar and host plants for butterflies to lay their eggs on. You can find a variety of butterfly garden seed mixes online or at your local garden center.

    Next, consider the size of your garden. A butterfly garden can be as small or as big as you like, depending on the space you have available. Even a small container garden on your balcony or patio can attract butterflies and other pollinators. Just make sure to choose plants that will thrive in your specific growing conditions.

    The importance of butterfly gardens cannot be overstated. Butterflies are not only beautiful to look at, but they also play a crucial role in pollinating plants and maintaining biodiversity. By creating a butterfly garden, you are helping to support these important pollinators and contribute to the health of your local ecosystem.

    If you’re short on time or space, consider making clay seed bombs to plant later. Simply mix together clay, compost, and wildflower seeds, shape into balls, and let them dry. When you’re ready to plant, just toss the seed bombs into your garden or a bare patch of soil and watch them grow into beautiful flowers that attract butterflies.

    Now, when should you plant your butterfly garden? Spring and fall are the best times to plant, as the weather is cool and the soil is moist. Make sure to choose a sunny spot with well-draining soil for your garden. Water regularly, but be mindful not to over water as this can attract pests.

    In conclusion, creating a butterfly garden is a fun and rewarding way to support these important pollinators and add beauty to your outdoor space. Whether you have a large backyard or a small balcony, there are plenty of options for creating a butterfly-friendly garden. So, go ahead and unleash your inner adventurer as you embark on this magical gardening journey.

    The Adventure Machine

    References/Further Study:

  • Rats: Key Players in Ecosystem Balance and Biodiversity

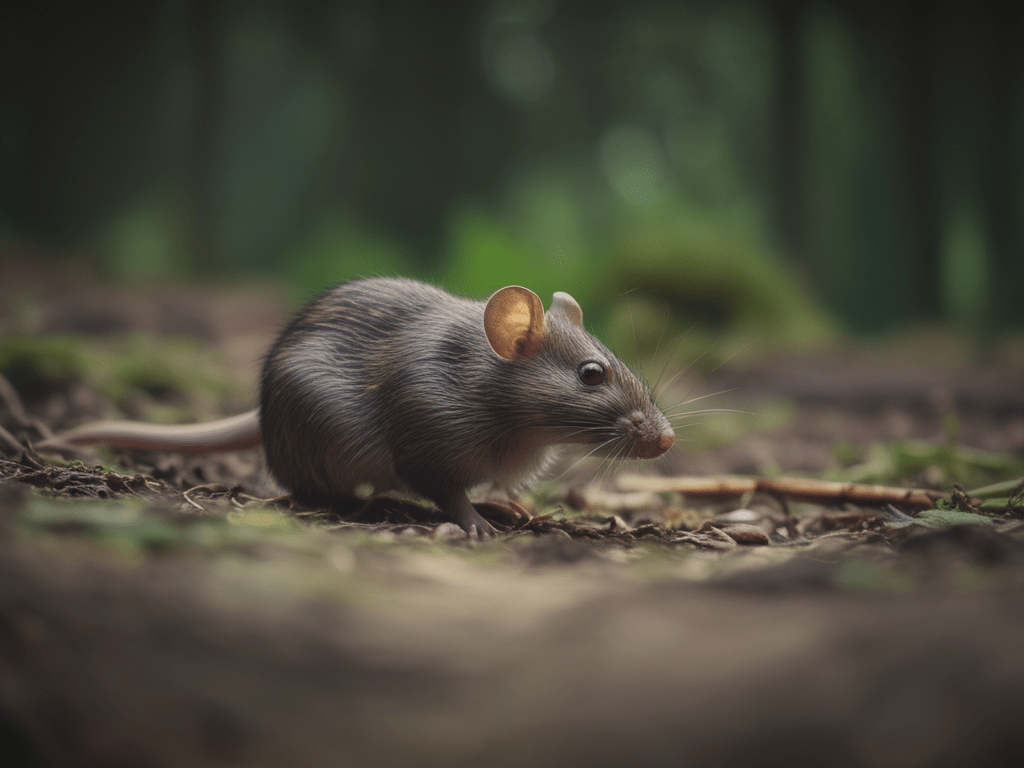
    Imagine a world without rats. It may seem like a utopia to some, but in reality, it would be a catastrophic event for ecosystems around the world. Rats may be seen as pests by many, but they are actually a keystone species that demand respect and admiration for their crucial role in maintaining the delicate balance of nature.

    Rats are highly intelligent and adaptable creatures that have been able to thrive in a wide range of environments, from bustling cities to remote wilderness areas. They play a vital role in ecosystems as both predators and prey, helping to control insect and small mammal populations while also serving as a food source for larger predators.

    One of the most important roles that rats play is as seed dispensers. Rats are known to hoard and bury seeds, helping to spread plant species and promote biodiversity in their habitats. In fact, a study published in the journal Science found that rats are responsible for dispersing up to 10% of all plant species in tropical forests.

    Additionally, rats are crucial in recycling nutrients in ecosystems. They help break down organic matter and turn it into rich soil, which in turn supports plant growth and provides food for other animals.

    Despite their importance, rats are often vilified and persecuted by humans. They are commonly targeted with poisons and traps, leading to declines in their populations and disrupting the delicate balance of ecosystems. In fact, a study published in the journal Conservation Letters found that the decline of rats in urban areas has led to an increase in pest insect populations, causing damage to crops and spreading disease.

    It’s time to give rats the respect they deserve. Instead of viewing them as pests, we should recognize their essential role in maintaining healthy ecosystems and work to protect and conserve their populations. By doing so, we can ensure a more balanced and vibrant natural world for generations to come.

    So next time you see a rat scurrying by, take a moment to appreciate the important role it plays in the web of life. After all, rats are not just pests – they are keystone species that demand our respect and admiration.

    The Adventure Machine

    References/Further Study:

    more following

  • DIY Recycled Birdhouse: A Fun and Eco-Friendly Project for Your Backyard

    Are you ready to embark on a DIY project that will not only benefit your local bird population, but also help reduce waste in the environment? Look no further than building the perfect birdhouse using recycled products! This project is not only fun and rewarding, but also a great way to showcase your creativity and love for our feathered friends.

    First things first, let’s talk about the size of the birdhouse. While there are many different sizes and styles to choose from, it’s important to consider the types of birds that frequent your area. For example, smaller birds like chickadees or wrens prefer a smaller, more cozy space, while larger birds like bluebirds or woodpeckers may require a larger house. Make sure to do your research and choose a size that will best accommodate the birds in your area.

    When it comes to color, the sky’s the limit! While traditional birdhouses are often painted in natural tones like brown or green, why not get creative and add a pop of color using recycled paint? Not only will this make your birdhouse stand out, but it will also give new life to old paint that may have otherwise been thrown away.

    Now, let’s talk about the materials you’ll need. The beauty of building a birdhouse using recycled products is that you can get creative and use a variety of items that may otherwise end up in the landfill. Some great options include old wood scraps, tin cans, plastic bottles, or even old shoe boxes. Not only will this help reduce waste, but it will also give your birdhouse a unique and eclectic look.

    When it comes to construction, there are countless resources available online to help guide you through the process. Websites like the Audubon Society or the National Wildlife Federation offer step-by-step instructions and tips for building the perfect birdhouse. Remember to make sure your birdhouse has proper ventilation, drainage, and easy access for cleaning to ensure the safety and comfort of your feathered visitors.

    So, what are you waiting for? Grab your recycled materials, paint, and tools, and get ready to build the perfect birdhouse for your backyard. Not only will you be helping the environment and local bird population, but you’ll also have a beautiful and unique addition to your outdoor space. Happy building!

    The Adventure Machine

    References/Further Study:


    https://www.audubon.org/
    https://www.nwf.org/

  • Natural Hair Coloring: Henna, Coffee, Tea, and Lemon Juice

    Are you tired of using harsh chemicals to color your hair? Do you want a more natural and eco-friendly way to change up your look? Look no further! There are plenty of ways to naturally color your hair without resorting to chemical-laden dyes.

    One popular method is using henna, a plant-based dye that has been used for centuries to color hair. Henna comes from the leaves of the henna tree; or lawsonia inermis plant, and can create a range of red to brown shades. Not only does henna provide beautiful color, but it also conditions and strengthens the hair, leaving it shiny and healthy. The color typically lasts for about 4-6 weeks before needing to be reapplied.

    Another option is using coffee or tea to darken your hair. Simply brew a strong pot of coffee or tea and let it cool. Then, pour the mixture over your hair and let it sit for about an hour before rinsing it out. This method is great for adding depth and richness to brown hair and can last for a few weeks.

    For those looking to lighten their hair, lemon juice is a popular natural option. Simply mix fresh lemon juice with water and spray it onto your hair before spending time in the sun. The citric acid in the lemon juice reacts with the sun to lighten the hair, creating natural highlights. This method usually lasts for a few weeks before needing to be reapplied.

    No matter which natural method you choose, it’s important to remember that these options may not provide the same longevity as traditional chemical dyes. However, the benefits of using natural ingredients far outweigh the temporary nature of the color. Plus, experimenting with different methods can be a fun and adventurous way to switch up your look without damaging your hair.

    The Adventure Machine

    References/Further Study:

    https://en.wikipedia.org/wiki/Lawsonia_inermis

    https://en.wikipedia.org/wiki/Henna#:~:text=Henna%20is%20a%20reddish%20dye%20prepared%20from%20the,the%20skin%20using%20dyes%20from%20the%20henna%20plant.


    https://www.treehugger.com/natural-hair-dye-5193504

  • The Timeless Allure of Tie Dye: A Staple of American Fashion and Culture

    Tie dye has long been a staple of American culture, representing freedom, creativity, and a laid-back attitude. From its origins in the counterculture movements of the 1960s to its resurgence in recent years, tie dye has become a beloved fashion trend that continues to be embraced by people of all ages.

    Who buys tie dye?

    The appeal of tie dye crosses generational and cultural boundaries, making it a popular choice for a wide range of individuals. While tie dye was once associated primarily with hippies and bohemians, it has now been adopted by mainstream fashion brands and celebrities. Young people, in particular, have been drawn to the vibrant and eye-catching patterns of tie dye, making it a popular choice for music festivals, concerts, and other events.

    People are gravitating toward tie-dye right now. “I think everyone is lonely. I think we’re craving human contact and evidence of human creativity,” Raquel Allegra says in, “A short cultural history of tie dye,” by Eliza Brooke.

    What is the average cost?

    Tie dye clothing and accessories can vary widely in price, depending on the brand, quality, and style. On average, a tie dye t-shirt can cost anywhere from $20 to $50, while more intricate pieces like hoodies or dresses can range from $40 to $100 or more.

    What is the most popular item?

    Among the wide range of tie dye products available, t-shirts remain the most popular item. The classic tie dye t-shirt is a timeless staple that can be dressed up or down, making it a versatile choice for anyone looking to add a pop of color to their wardrobe.

    Tie dye has seen a significant increase in popularity in recent years, with sales of tie dye clothing and accessories reaching over $2 billion in 2020. This surge in demand can be attributed to a growing interest in DIY fashion, sustainability, and individuality.

    In conclusion, tie dye has become an integral part of American culture, representing a sense of freedom, creativity, and self-expression. Its appeal spans across demographics, making it a popular choice for people of all ages. With its vibrant colors and unique patterns, tie dye continues to be a timeless fashion trend that shows no signs of fading away.

    The Adventure Machine

    References/Further Study:

    https://www.vox.com/the-goods/2019/8/22/20813844/tie-dye-history

  • Unveiling Your Alien Identity: Embracing Uniqueness and Cosmic Roots

    Have you ever felt like you just don’t quite fit in with the rest of humanity? Like there’s something different about you that sets you apart from everyone else? Well, my friend, you may just be an alien.

    Now before you start panicking and booking a one-way ticket back to your home planet, let’s take a moment to explore the signs that indicate you may be of extraterrestrial origin. Here are a few clues to help you determine if you’re truly a visitor from another world:

    1. Strange physical features: Do you have an extra finger, a third eye, or perhaps a tail that you’ve been hiding from the world? These unique physical traits could be a tell-tale sign that you are not of this Earth.

    2. Psychic abilities: Can you read minds, move objects with your thoughts, or predict the future with uncanny accuracy? These psychic powers are often associated with aliens who possess advanced mental capabilities.

    3. Unusual interests: Are you drawn to studying outer space, UFOs, and alien abductions? Do you feel a strong connection to the cosmos and a longing to explore the unknown? Your fascination with all things extraterrestrial could be a clue to your own alien heritage.

    4. Feeling like a misfit: Have you always felt like you don’t belong in this world, like you’re an outsider looking in? If you constantly find yourself struggling to relate to others and feeling like you’re from another planet, it may be because you actually are.

    5. Memories of a past life: Have you ever experienced vivid dreams or memories of a life on another planet or in a distant galaxy? These recollections could be glimpses into your true identity as an alien being.

    So, if any of these signs resonate with you, it might be time to embrace your inner alien and start exploring your cosmic roots. Remember, being different is not a bad thing – it’s what makes you special and unique. Who knows, maybe one day you’ll find your fellow extraterrestrial brothers and sisters and form a galactic alliance to conquer the universe. Until then, just remember to keep your spaceship hidden in the garage and your laser gun on standby – you never know when you might need them.

    The Adventure Machine